Image Transfer on Oil and Cold Wax
I have quickly created this blog post as a result of several inquiries on my process. I will edit it sometime later and add more photos of the step by step process.
During the past few years I have experimented with image or photo transfers onto my paintings. I have learned how to do this through workshops, trial and error, watching videos and reading tutorials. Golden Paints has a wonderful technical page which is very helpful.
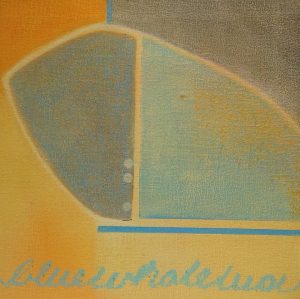
The painting “Better the Devil You Know” was a painting using oil and cold wax medium that I reworked. It was finished and dry. Probably six months dry. I decided to rework and change it. This is what it looked like before the changes. This painting was done on a cradled wooden panel 12 X 12.
So I added more oil and cold wax and had lots of fun with a new oil stick. I let this new version dry (to touch) for four days. The next part which I can’t emphasis enough is -research, research, research. I am a huge fan of Golden Paints and they are so generous with the product information, tutorials and videos. On their technical page for image transfers all the information is provided the process. https://www.goldenpaints.com/technicalinfo_transimg
They recommend soft gel. I hadn’t used this before in my previous image transfers and it worked like a dream.
These are the products/tools that I use: spray bottle, abrasive pad, burnishing bone, golden soft gel.
Photo copy. I use a laser photo copy of a photo/image. No special paper, just use regular paper. I always use my own photographs or an image from an artist/photographer who has given me permission to use their image in my art work. The photo copy of the tree below is just an example, the copy I used for “The Devil you Know” wasn’t documented when I was making the painting.
Apply the soft gel to the surface of the painting. I use a brush and only cover the area on the painting where the image is being transferred to. I tape off this area on the painting surface, I don’t want gel anywhere else. Then the photo copy with the image is placed onto the surface where I have applied the gel. The image goes face down into the gel. The photocopy has been trimmed of excess paper so I just have the image. The back of the paper (remember I can’t see the image now, it is face down) is burnished with the burnishing bone so good contact with the gelled surface is made. Let your work dry for at least 24 hours, more is better.
When it is dry, spray the image area with water. Slowly and very carefully start rubbing off the backing paper of the photo copy using your finger or abrasive pad. Cut the pad to a small workable size. The paper will come off in smallish crumbs. Re wet the photo copy with spray bottle as necessary, again working slowly as the image is revealed. Wipe away the excess water and paper with a paper towel. I use the blue shop towels.
Let your work dry, this only takes a few hours or go back to it the next day. I add more paint to the image to let it marry into the painting.
My last step is to seal the painting with a varnish of cold wax (no paint added) and then buff the painting with a soft white rag. (This is why you save all your old t-shirts).
The only problem I have encountered in the image may not lay perfectly flat and I will find some ripples. But it is only a problem if you perceive it as such. I usually embrace these results instead of seeing them as obstacles.


Thank you Heather for sharing your technique. I’ve yet to try a photo transfer – my goal for 2017!!
LikeLike
You would be great at creating photo transfers Cathy. You have so many great photos that you have taken of your garden and family that you could use.
LikeLike